Game settings menu
Creating a widget for configuring vsync and fullscreen
HBoxContainer node as root, and name it UISettingCheckbox. Add a CheckBox and a Label to it. We'll use the label to identify the setting controlled by the CheckBox. Your scene tree should look like this: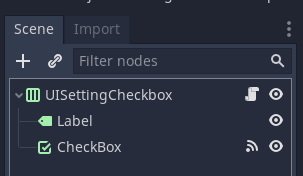
toggled signal to the UISettingCheckbox. Select the checkbox in the scene tree, head to the Node dock, and double click toggled. Press the Connect button in the window that pops up.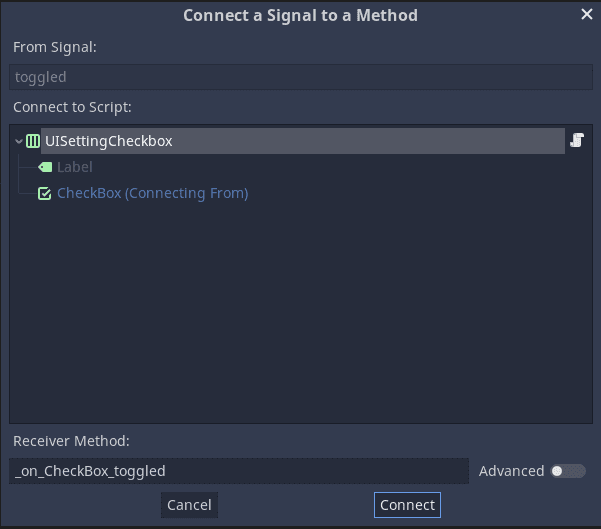
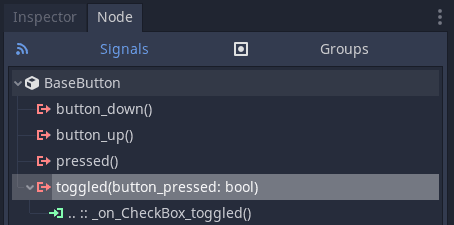
# Scene with a checkbox to switch settings with boolean values
tool
extends Control

# Emitted when the `CheckBox` state changes.
signal toggled(is_button_pressed)

# The text of the Label should be changed to identify the setting.
# Using a setter lets us change the text when the `title` variable changes.
export var title := "" setget set_title

# We store a reference to the Label node to update its text.
onready var label := $Label


# Emit the `toggled` signal when the `CheckBox` state changes.
func _on_CheckBox_toggled(button_pressed: bool) -> void:
	emit_signal("toggled", button_pressed)


# This function will be executed when `title` variable changes.
func set_title(value: String) -> void:
	title = value
	# Wait until the scene is ready if `label` is null.
	if not label:
		yield(self, "ready")
	# Update the label's text
	label.text = title
NOTE:In the previous code, we used the
tool keyword. This way, we can see the
label's text updated when changing the editor's title variable. In the
set_title() function, we wait until the scene is ready if label happens to
be null because $Label won't be available until the scene is ready.Creating a widget to choose screen resolution
HBoxContainer node as root, and name it UIResolutionSelector. Add a Label to the container, and change its text to "Resolution". Then, also add an OptionButton to the container.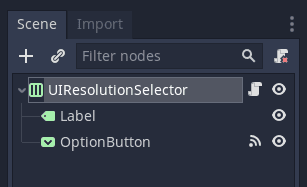
OptionButton node in the scene tree, and you'll notice that a button called "Items" appears in the toolbar.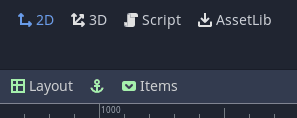
OptionButton.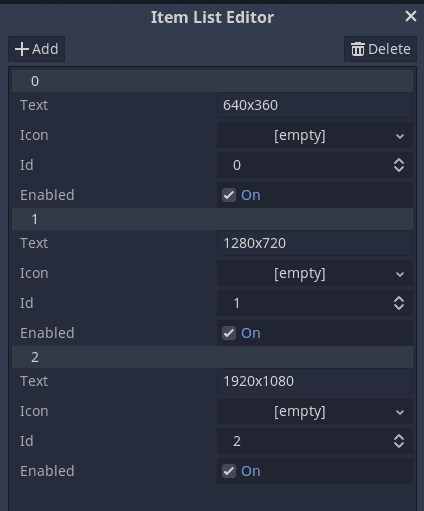
item_selected signal, as we did with the checkbox's toggled signal in the UISettingCheckbox scene.# Scene with an OptionButton to select the resolution from a list of options
extends Control
# Emitted when the selected resolution changes.
signal resolution_changed(new_resolution)
# We store a reference to the OptionButton to get the selected option later
onready var option_button: OptionButton = $OptionButton
func _update_selected_item(text: String) -> void:
# The resolution options are written in the form "XRESxYRES".
# Using `split_floats` we get an array with both values as floats.
var values := text.split_floats("x")
# Emit a signal for informing the newly selected resolution
emit_signal("resolution_changed", Vector2(values[0], values[1]))
func _on_OptionButton_item_selected(_index: int) -> void:
# Call the `_update_selected_item` function when the user selects
# a new item in the `OptionButton`
_update_selected_item(option_button.text)
Creating the Video Settings widget
Panel node as root. Add a VBoxContainer node to it. Add two UISettingCheckbox instances as children of the newly added container, and name them UIFullScreenCheckbox and UIVsyncCheckbox. For each instance, change the title attribute in the inspector to "Full Screen" and "VSync" respectively. Note how those instances' labels changed in the editor, thanks to the tool keyword.Button to the container, name it ApplyButton, and change its text to "Apply". We are going to use this button to notify when the user wants to apply the selected settings.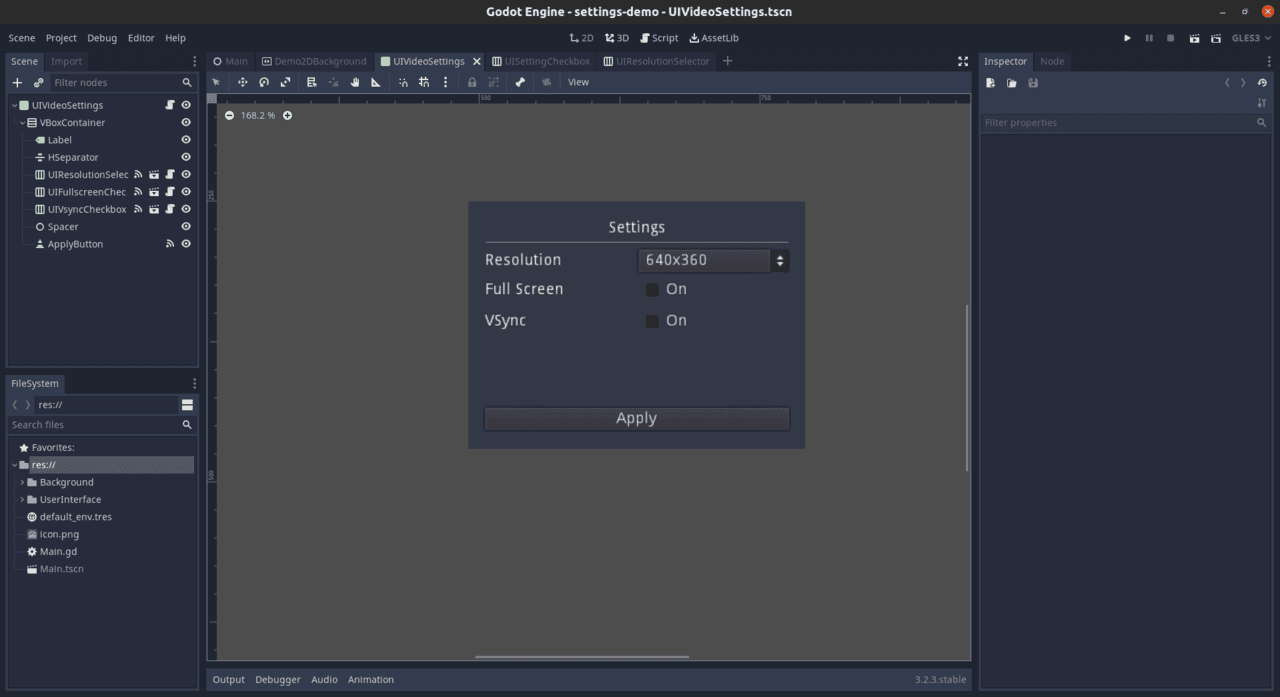
resolution_changed signal of the UIResolutionSelector to the script, as we did earlier. We also need to connect the toggled signal of the two UISettingCheckbox instances. After that, complete the script as it follows:# User interface that allows the player to select game settings.
# To see how we update the actual window and rendering settings, see
# `Main.gd`.
extends Control
# Emitted when the user presses the "apply" button.
signal apply_button_pressed(settings)
# We store the selected settings in a dictionary
var _settings := {resolution = Vector2(640, 480), fullscreen = false, vsync = false}
# Emit the `apply_button_pressed` signal, when user presses the button.
func _on_ApplyButton_pressed() -> void:
# Send the last selected settings with the signal
emit_signal("apply_button_pressed", _settings)
# Store the resolution selected by the user. As this function is connected
# to the `resolution_changed` signal, this will be executed any time the
# users chooses a new resolution
func _on_UIResolutionSelector_resolution_changed(new_resolution: Vector2) -> void:
_settings.resolution = new_resolution
# Store the fullscreen setting. This will be called any time the users toggles
# the UIFullScreenCheckbox
func _on_UIFullscreenCheckbox_toggled(is_button_pressed: bool) -> void:
_settings.fullscreen = is_button_pressed
# Store the vsync seting. This will be called any time the users toggles
# the UIVSyncCheckbox
func _on_UIVsyncCheckbox_toggled(is_button_pressed: bool) -> void:
_settings.vsync = is_button_pressed
Creating the Main scene
Node2D as the root node, and name it Main. Add a CanvasLayer to it, and add an instance of the UIVideoSettings scene to the canvas layer.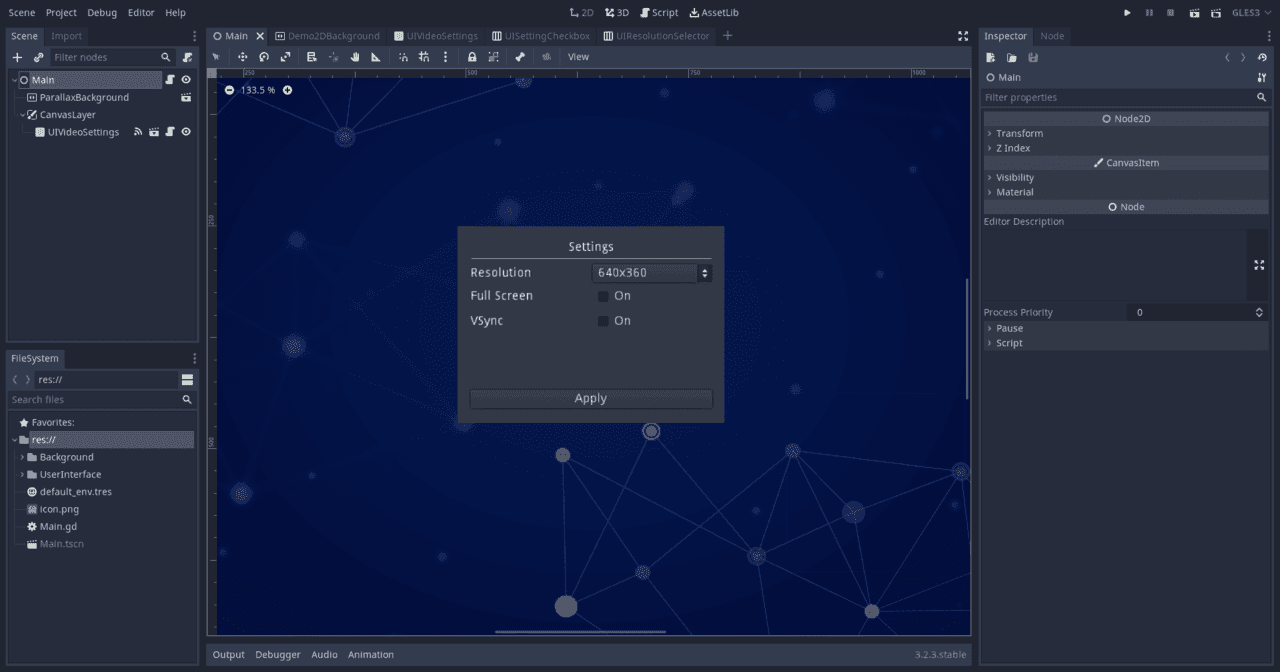
apply_button_pressed signal, with the settings dictionary as an argument. Attach a script to our main scene and connect the apply_button_pressed signal to it.apply_button_signal:# Controls and updates the actual game settings this node receives from the
# user interface.
extends Node2D
# We use a dictionary to represent settings because we have few values for now. Also, when you
# have many more settings, you can replace it with an object without having to refactor the code
# too much, as in GDScript, you can access a dictionary's keys like you would access an object's
# member variables.
func update_settings(settings: Dictionary) -> void:
OS.window_fullscreen = settings.fullscreen
get_tree().set_screen_stretch(
SceneTree.STRETCH_MODE_2D, SceneTree.STRETCH_ASPECT_KEEP, settings.resolution
)
OS.set_window_size(settings.resolution)
OS.vsync_enabled = settings.vsync
# Call the `update_settings` function when the user presses the button
func _on_UIVideoSettings_apply_button_pressed(settings) -> void:
update_settings(settings)
NOTE:The demo will start with the settings configured in the Project Settings.
You could add the code necessary to start from the default values in the
UIVideoSettings scene, but this is beyond the scope of this tutorial.

Lesson Q&A
Use this space for questions related to what you're learning. For any other type of support (website, learning platform, payments, etc...) please get in touch using the contact form.